Reversing Pokemon Red and Blue (Game Boy)
Edit on Github | Updated: 25th May 2026Introduction

The Pokemon Reverse Engineering Team (PRET) have managed to pull off a marvellous achievement, they have fully reverse engineered Pokemon Red and Blue back into Z80 assembly code 1.
The source code they have developed can be assembled back into a 100% identical ROM image as was written to the game cartridges. This opens the door to anyone who ever wondered how these classic games worked, how they were implemented and how to modify them.
With this repository you can do anything you ever dreamed of changing in the original pokemon games, add your own custom pokemon, towns, music, sprites, translations or even modify how the core gameplay works.
Game Development
The game was developed by only 5 programmers at Game Freak and released in Japan in early 1996.
However It took two and a half years to modify the original Japanese Pokemon red/green to the western Pokemon red/blue releases due to the memory limitations of the gameboy cartridge and english taking up more space than the Japanese text 2.
Early Content
Of course as it was released in 1996 the development of the game goes back years before that, presumably to early 1990. The group Helix Chamber has released beta content for red/green to give an insight into the evolution of the designs of the Pokemon and maps 3.
Development Tools
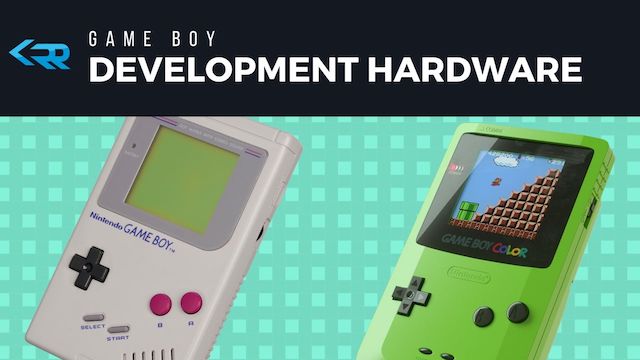
Official Development Hardware
The developers were using an IBM PC running either MSDOS or Windows 95/NT as the DMG software development kit only runs on these systems. This would be paired with a DMG-ICE Debugger/Emulator that allowed the developers to test how the game ran on the real hardware.
Software Development Kit
It is very likely that Game Freak used the official Software Development kit provided by Intelligent Systems. This would give them the IS Assembler and Linker programs needed to build the game into a working rom.
Cartridge and Development Hardware
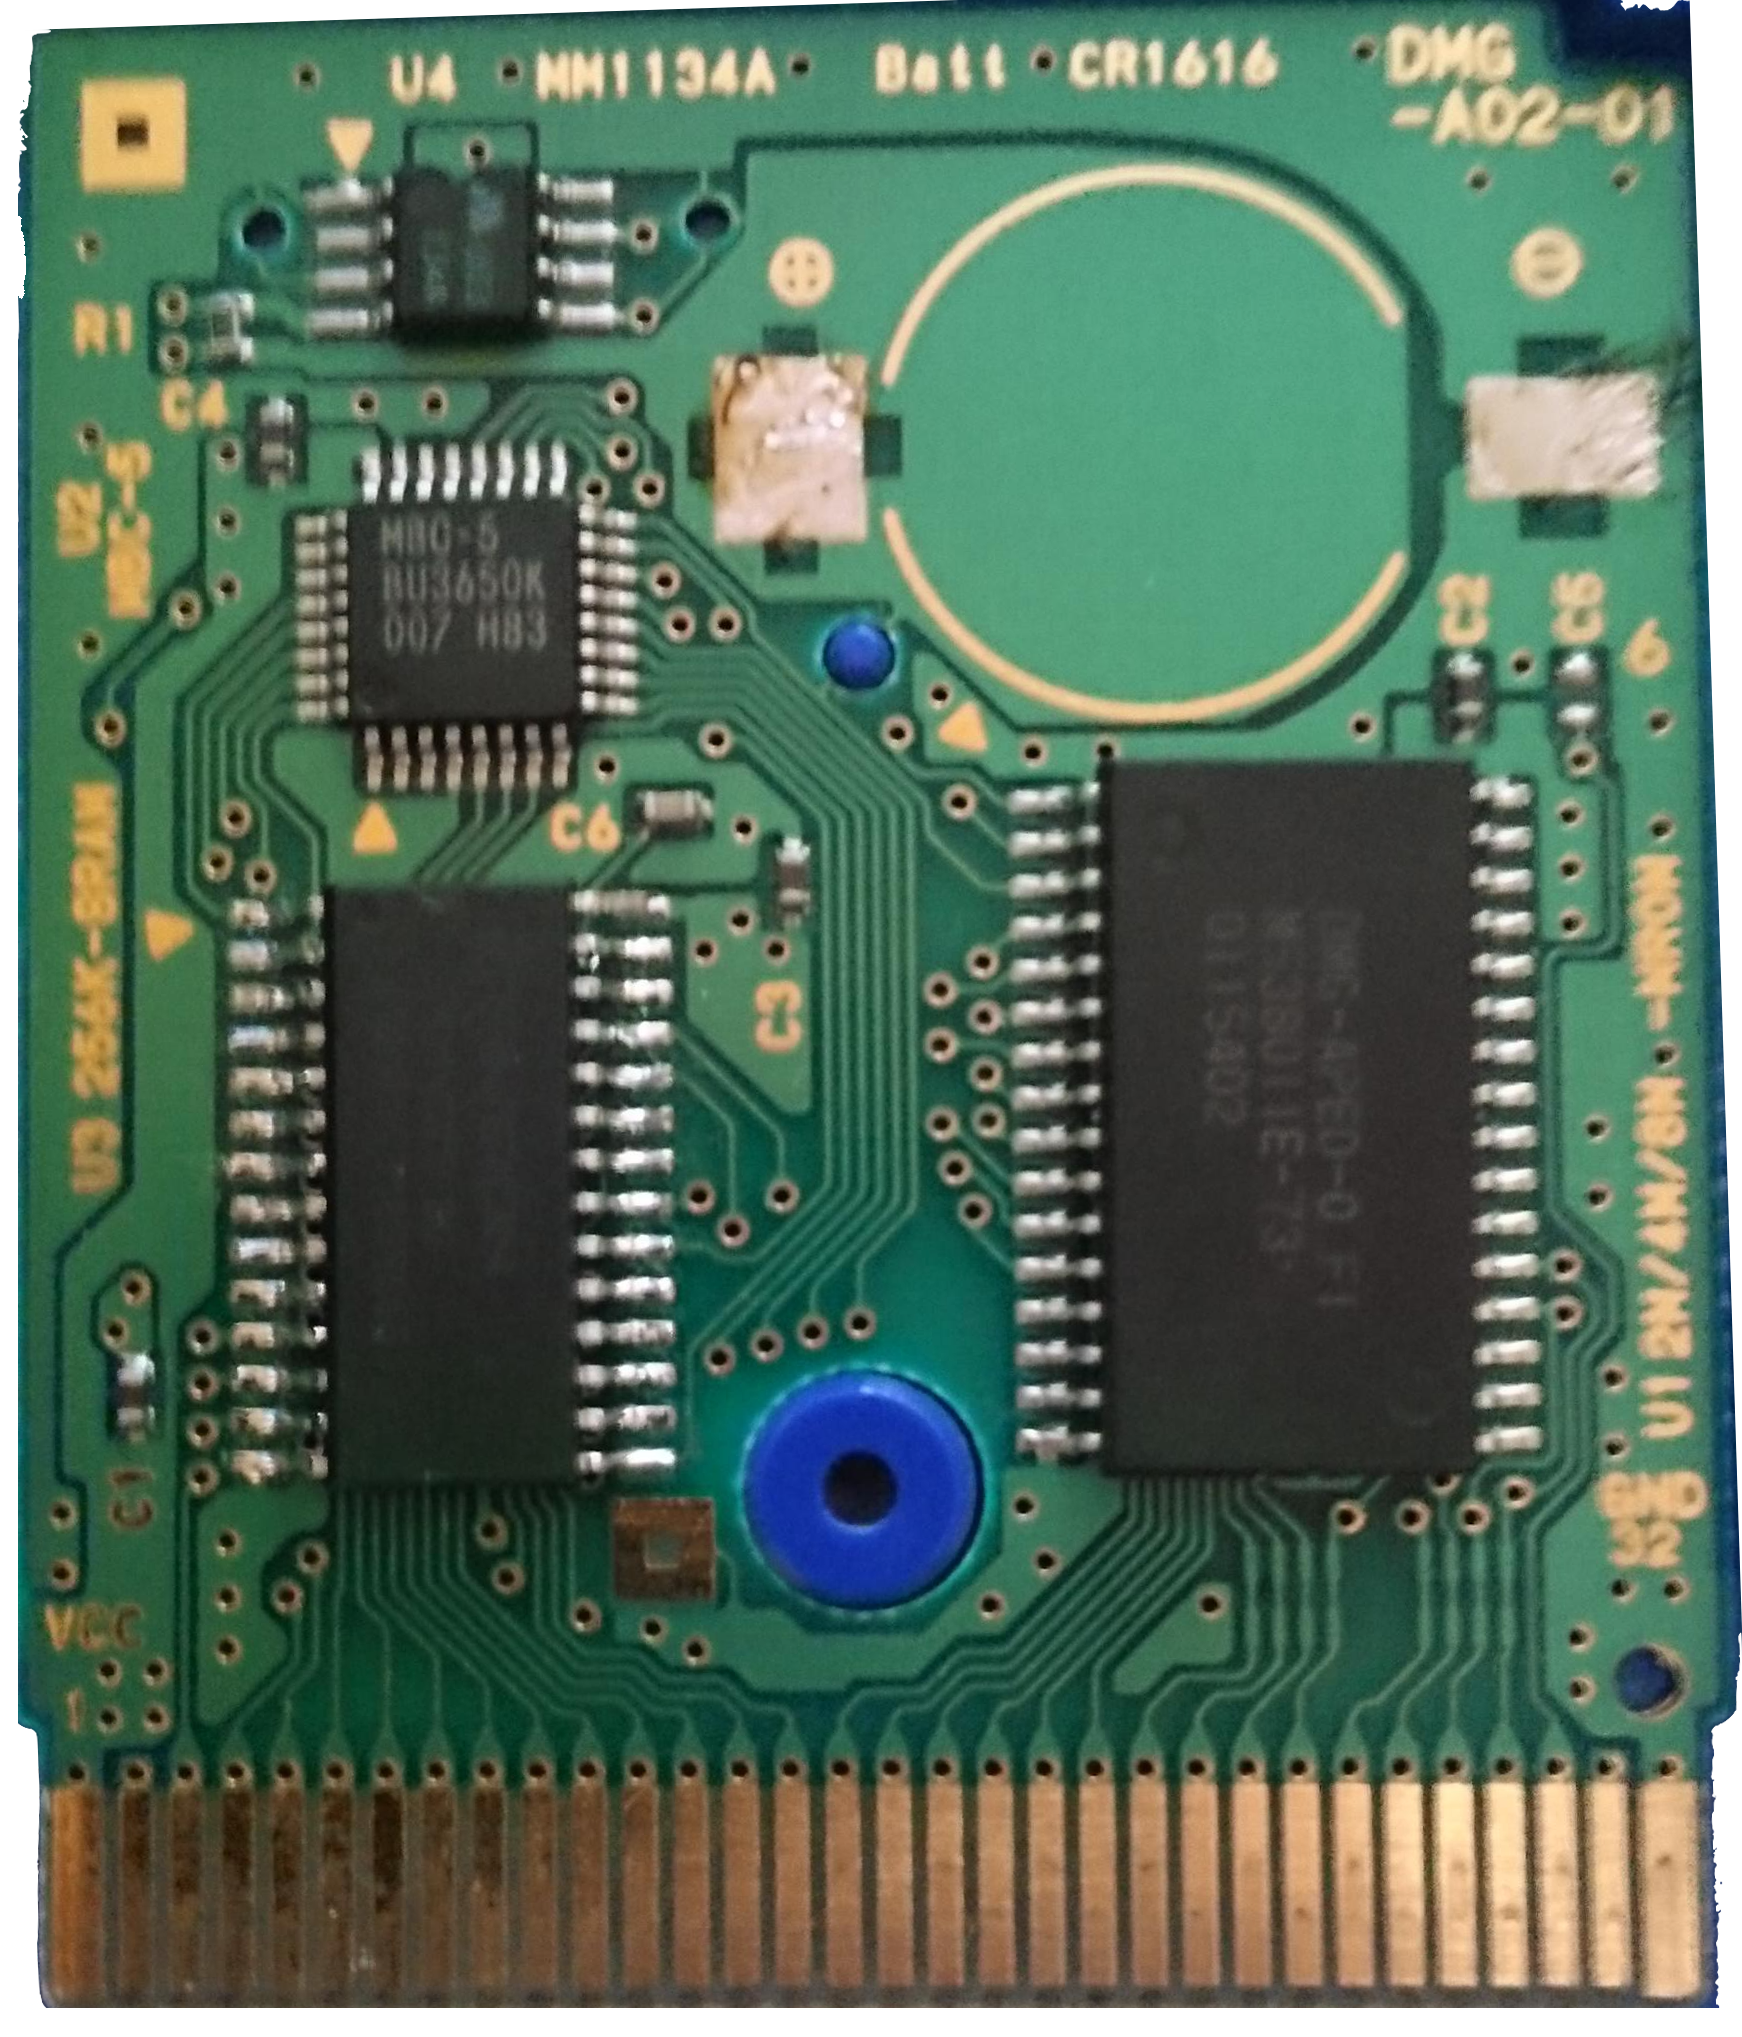
The Game was cut on to 2 megabyte cartridges meaning assets needed to be optimised or cut in order to fit everything on the cartridge. Thus was even more evident in the Western releases due to the english text being larger than the original Japanese 2. So Pokemon names, dialog and even maps needed to be optimised to take up less space.
Assembling the source code
If you want to be able to assemble the source code back into the original rom you will need to download a few tools and of course the source code for the pokered project available here: pret/pokered
It is generally easier to build the project on MacOSX or Linux but for windows you can use Cygwin. So if you are on windows make sure to download Cygwin or any other linux-like shell for windows.
The first thing to download would be the assembler, this is what converts the source code from assembly language into machine code (the ROM). The pokered project is written for the rgbds assembler which you can download from: https://github.com/rednex/rgbds.
You can download either the prebuilt binaries for win/linux or build it yourself by cloning the git project and running sudo make install.
Now you should be able to use rgbds tools from the command line, so you can go to where you downloaded the pokered project and simply run make.
If all goes well it will generate pokered.gbc and pokeblue.gbc which are byte-identical versions of the retail ROMS! If it didn’t go well check out the install instructions: pokered/INSTALL.md · pret/pokered
Maps
In the pokered source code the maps are saved as .blk files, these files are small binary files and can be edited in a tool called RBMap.